Çerezleri Kabul Et
Web sitemizde size en iyi deneyimi sunabilmemiz için çerezleri kullanıyoruz. Web sitesindeki ziyaretinizi devam ettirerek, çerezlerin kullanımını kabul etmiş oluyorsunuz. daha fazla bilgi edinin


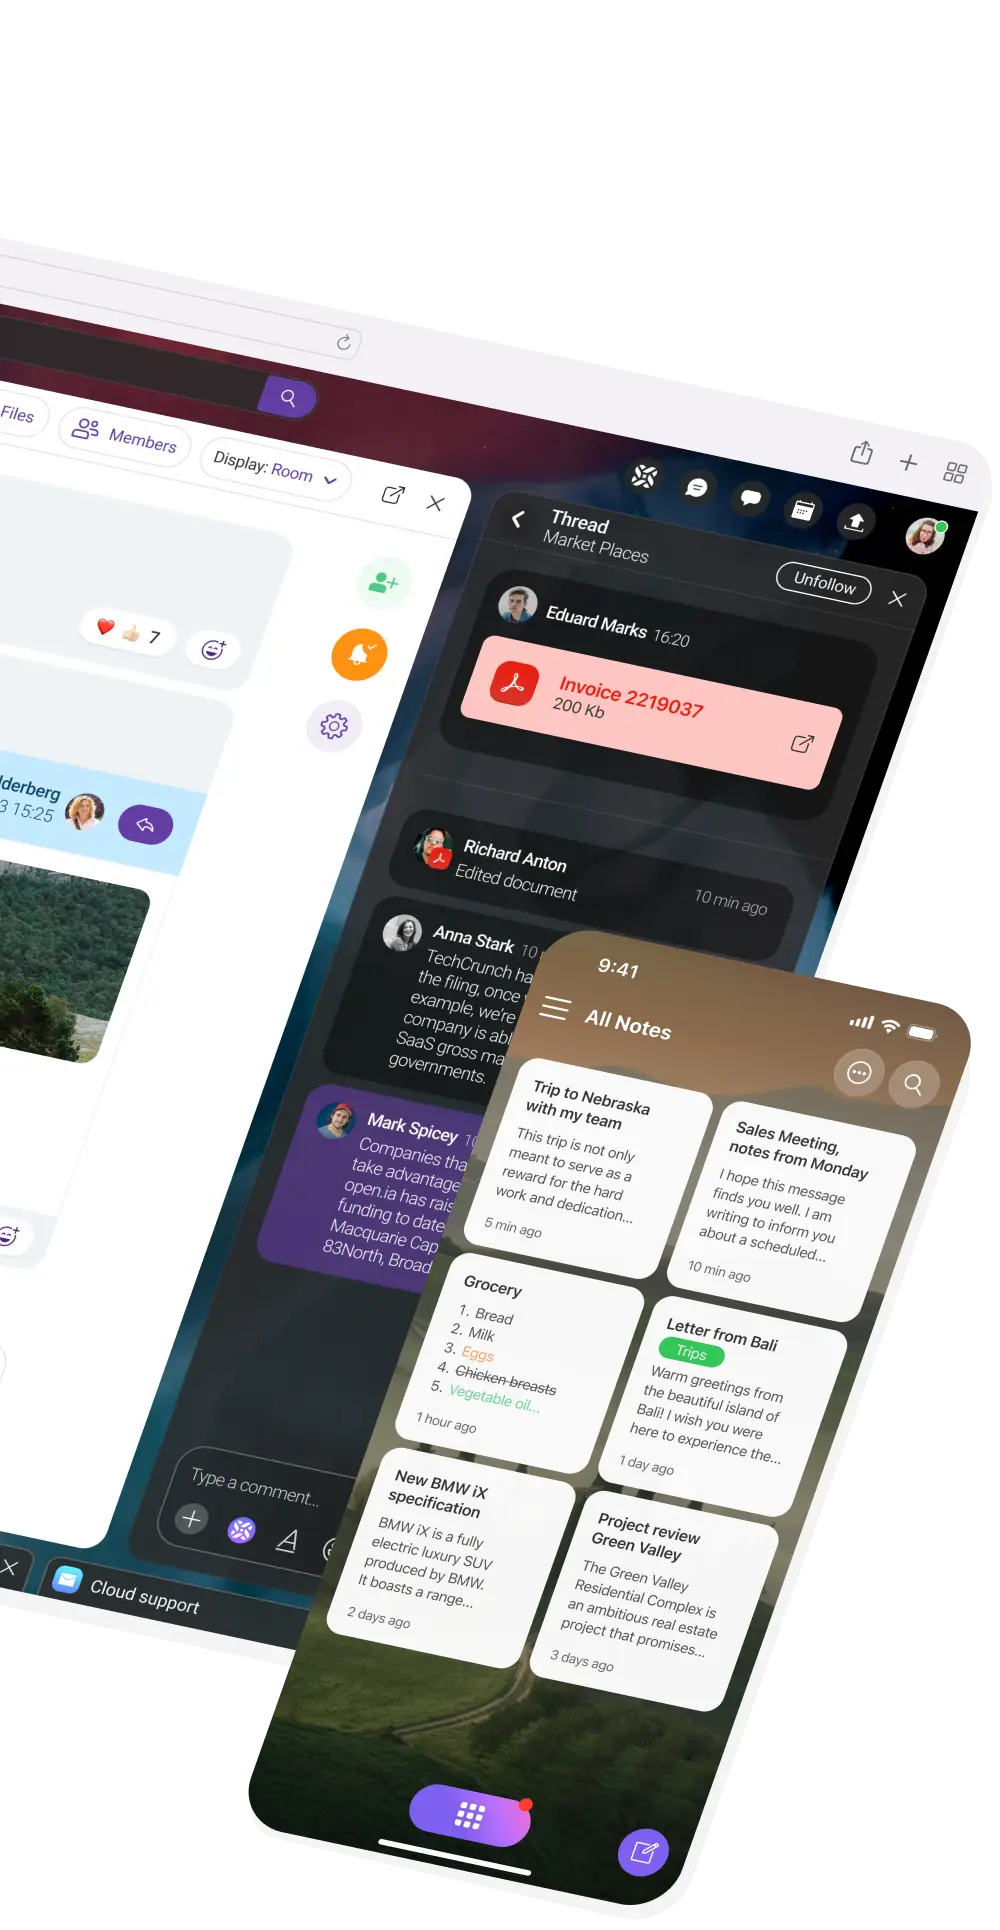
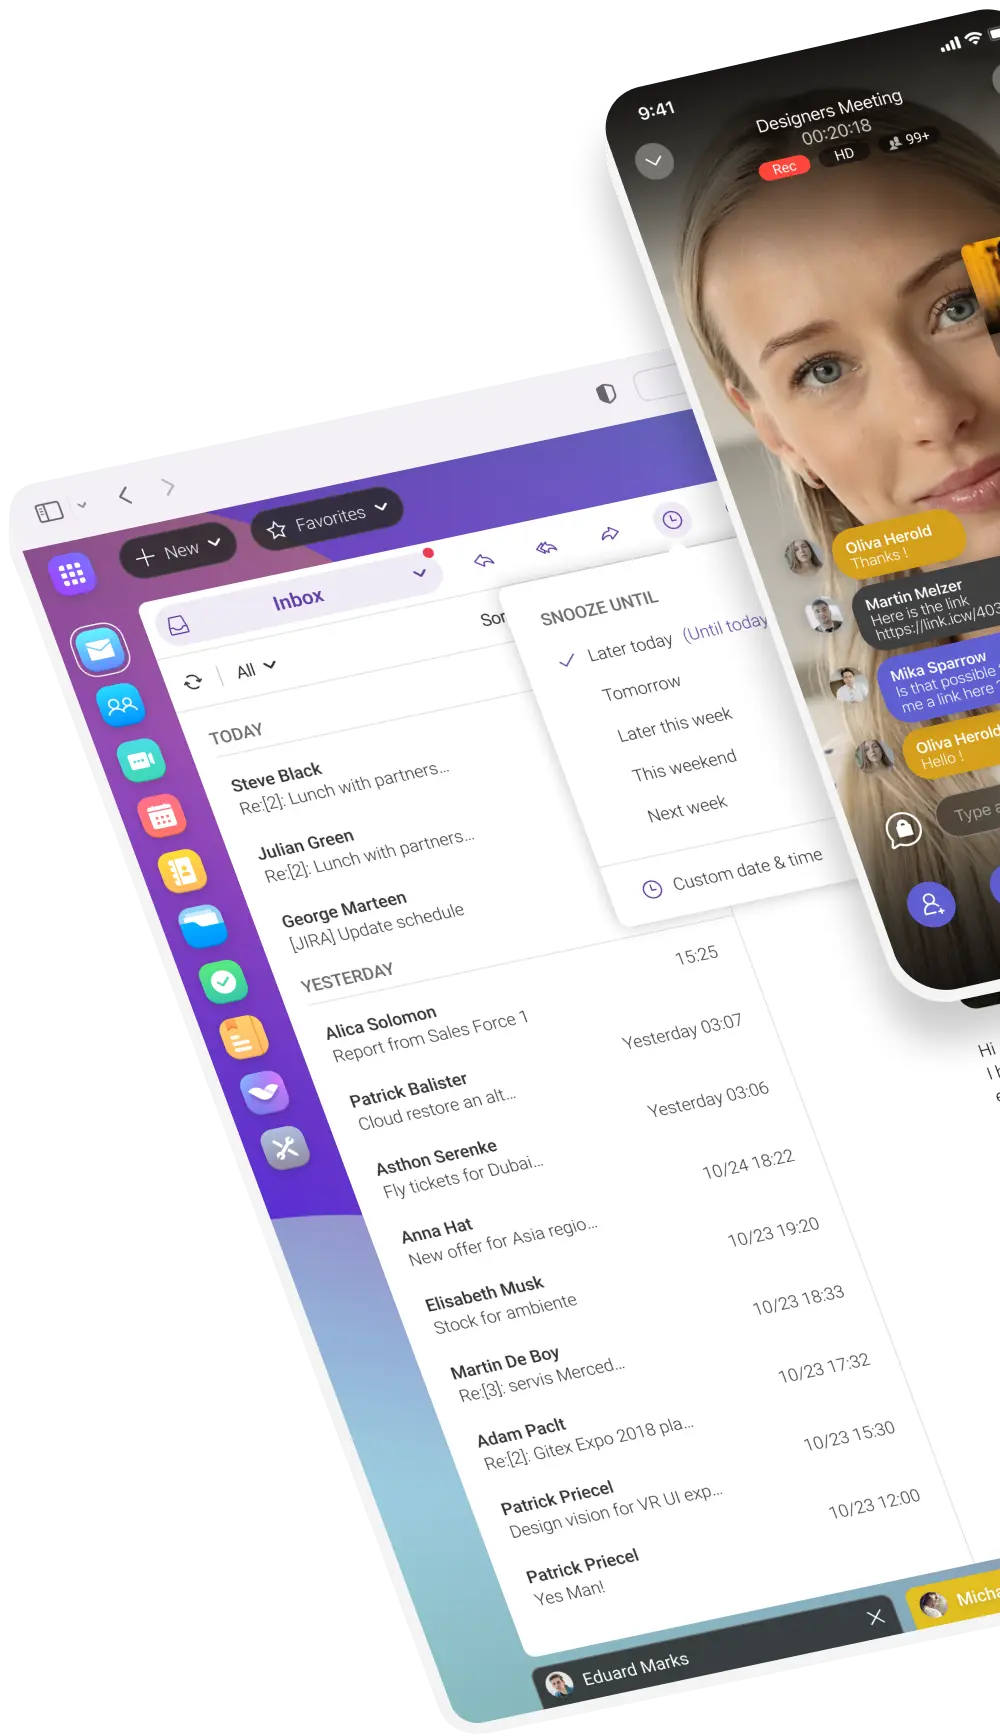
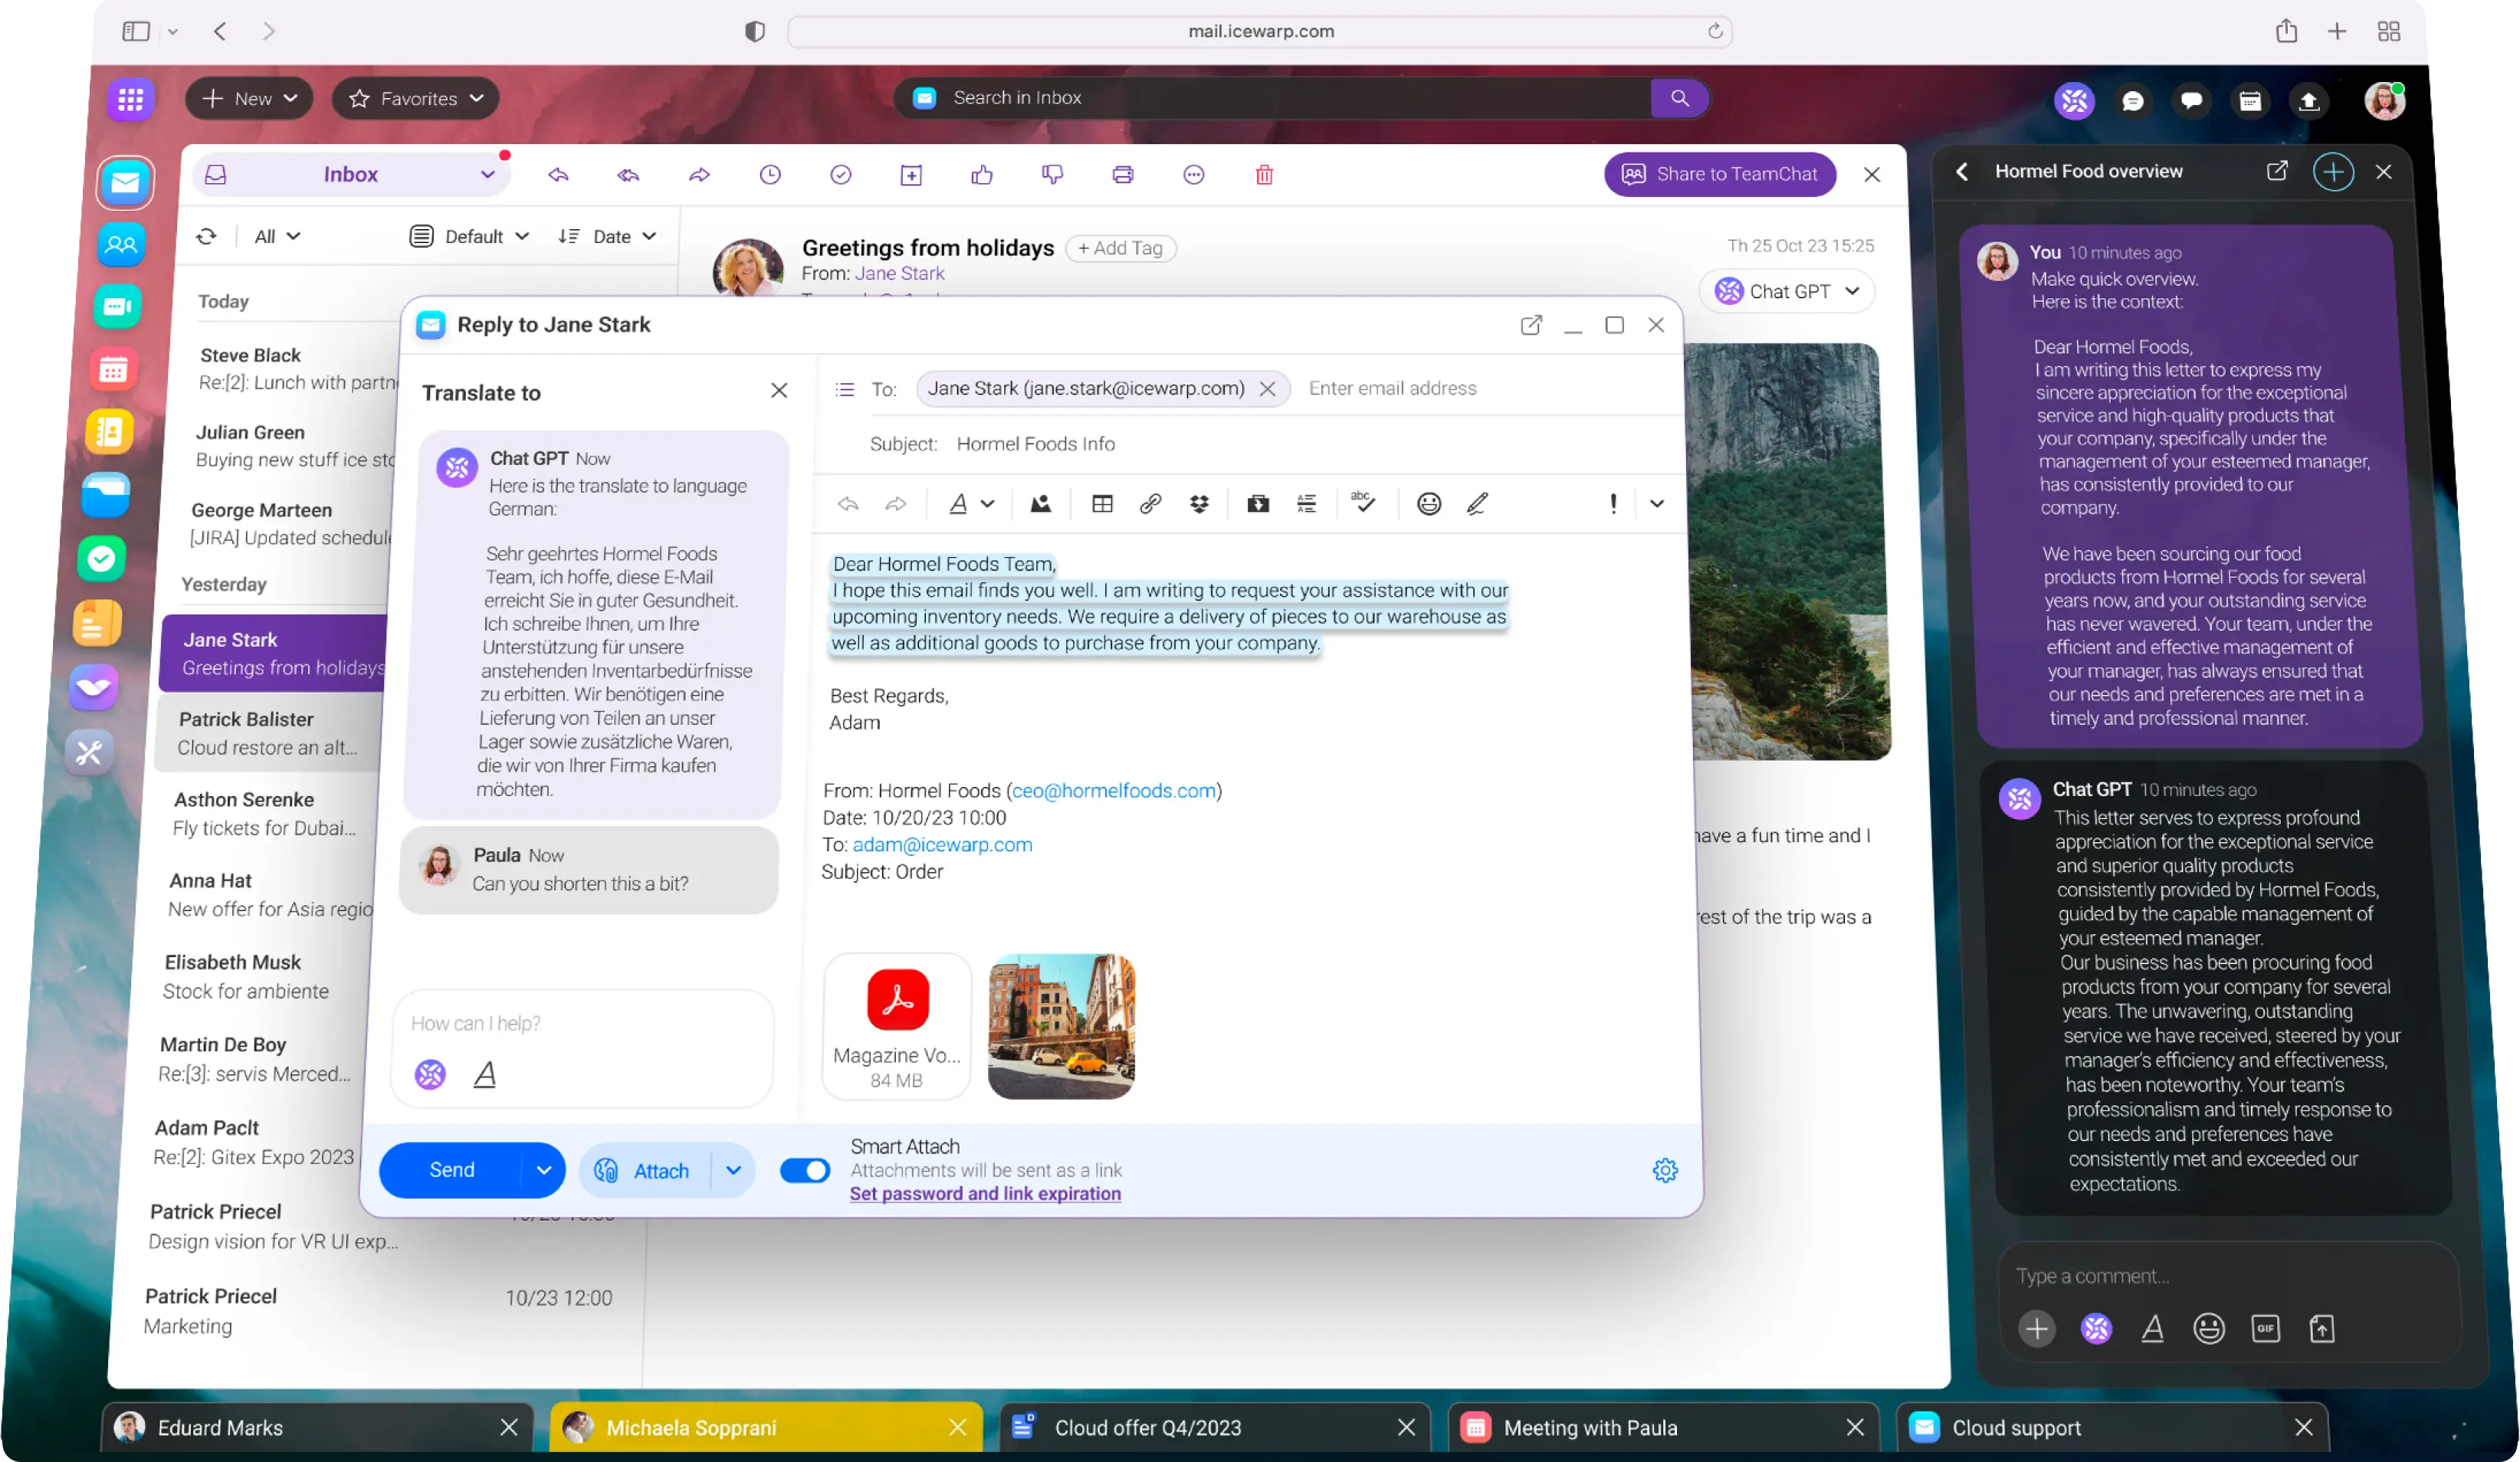
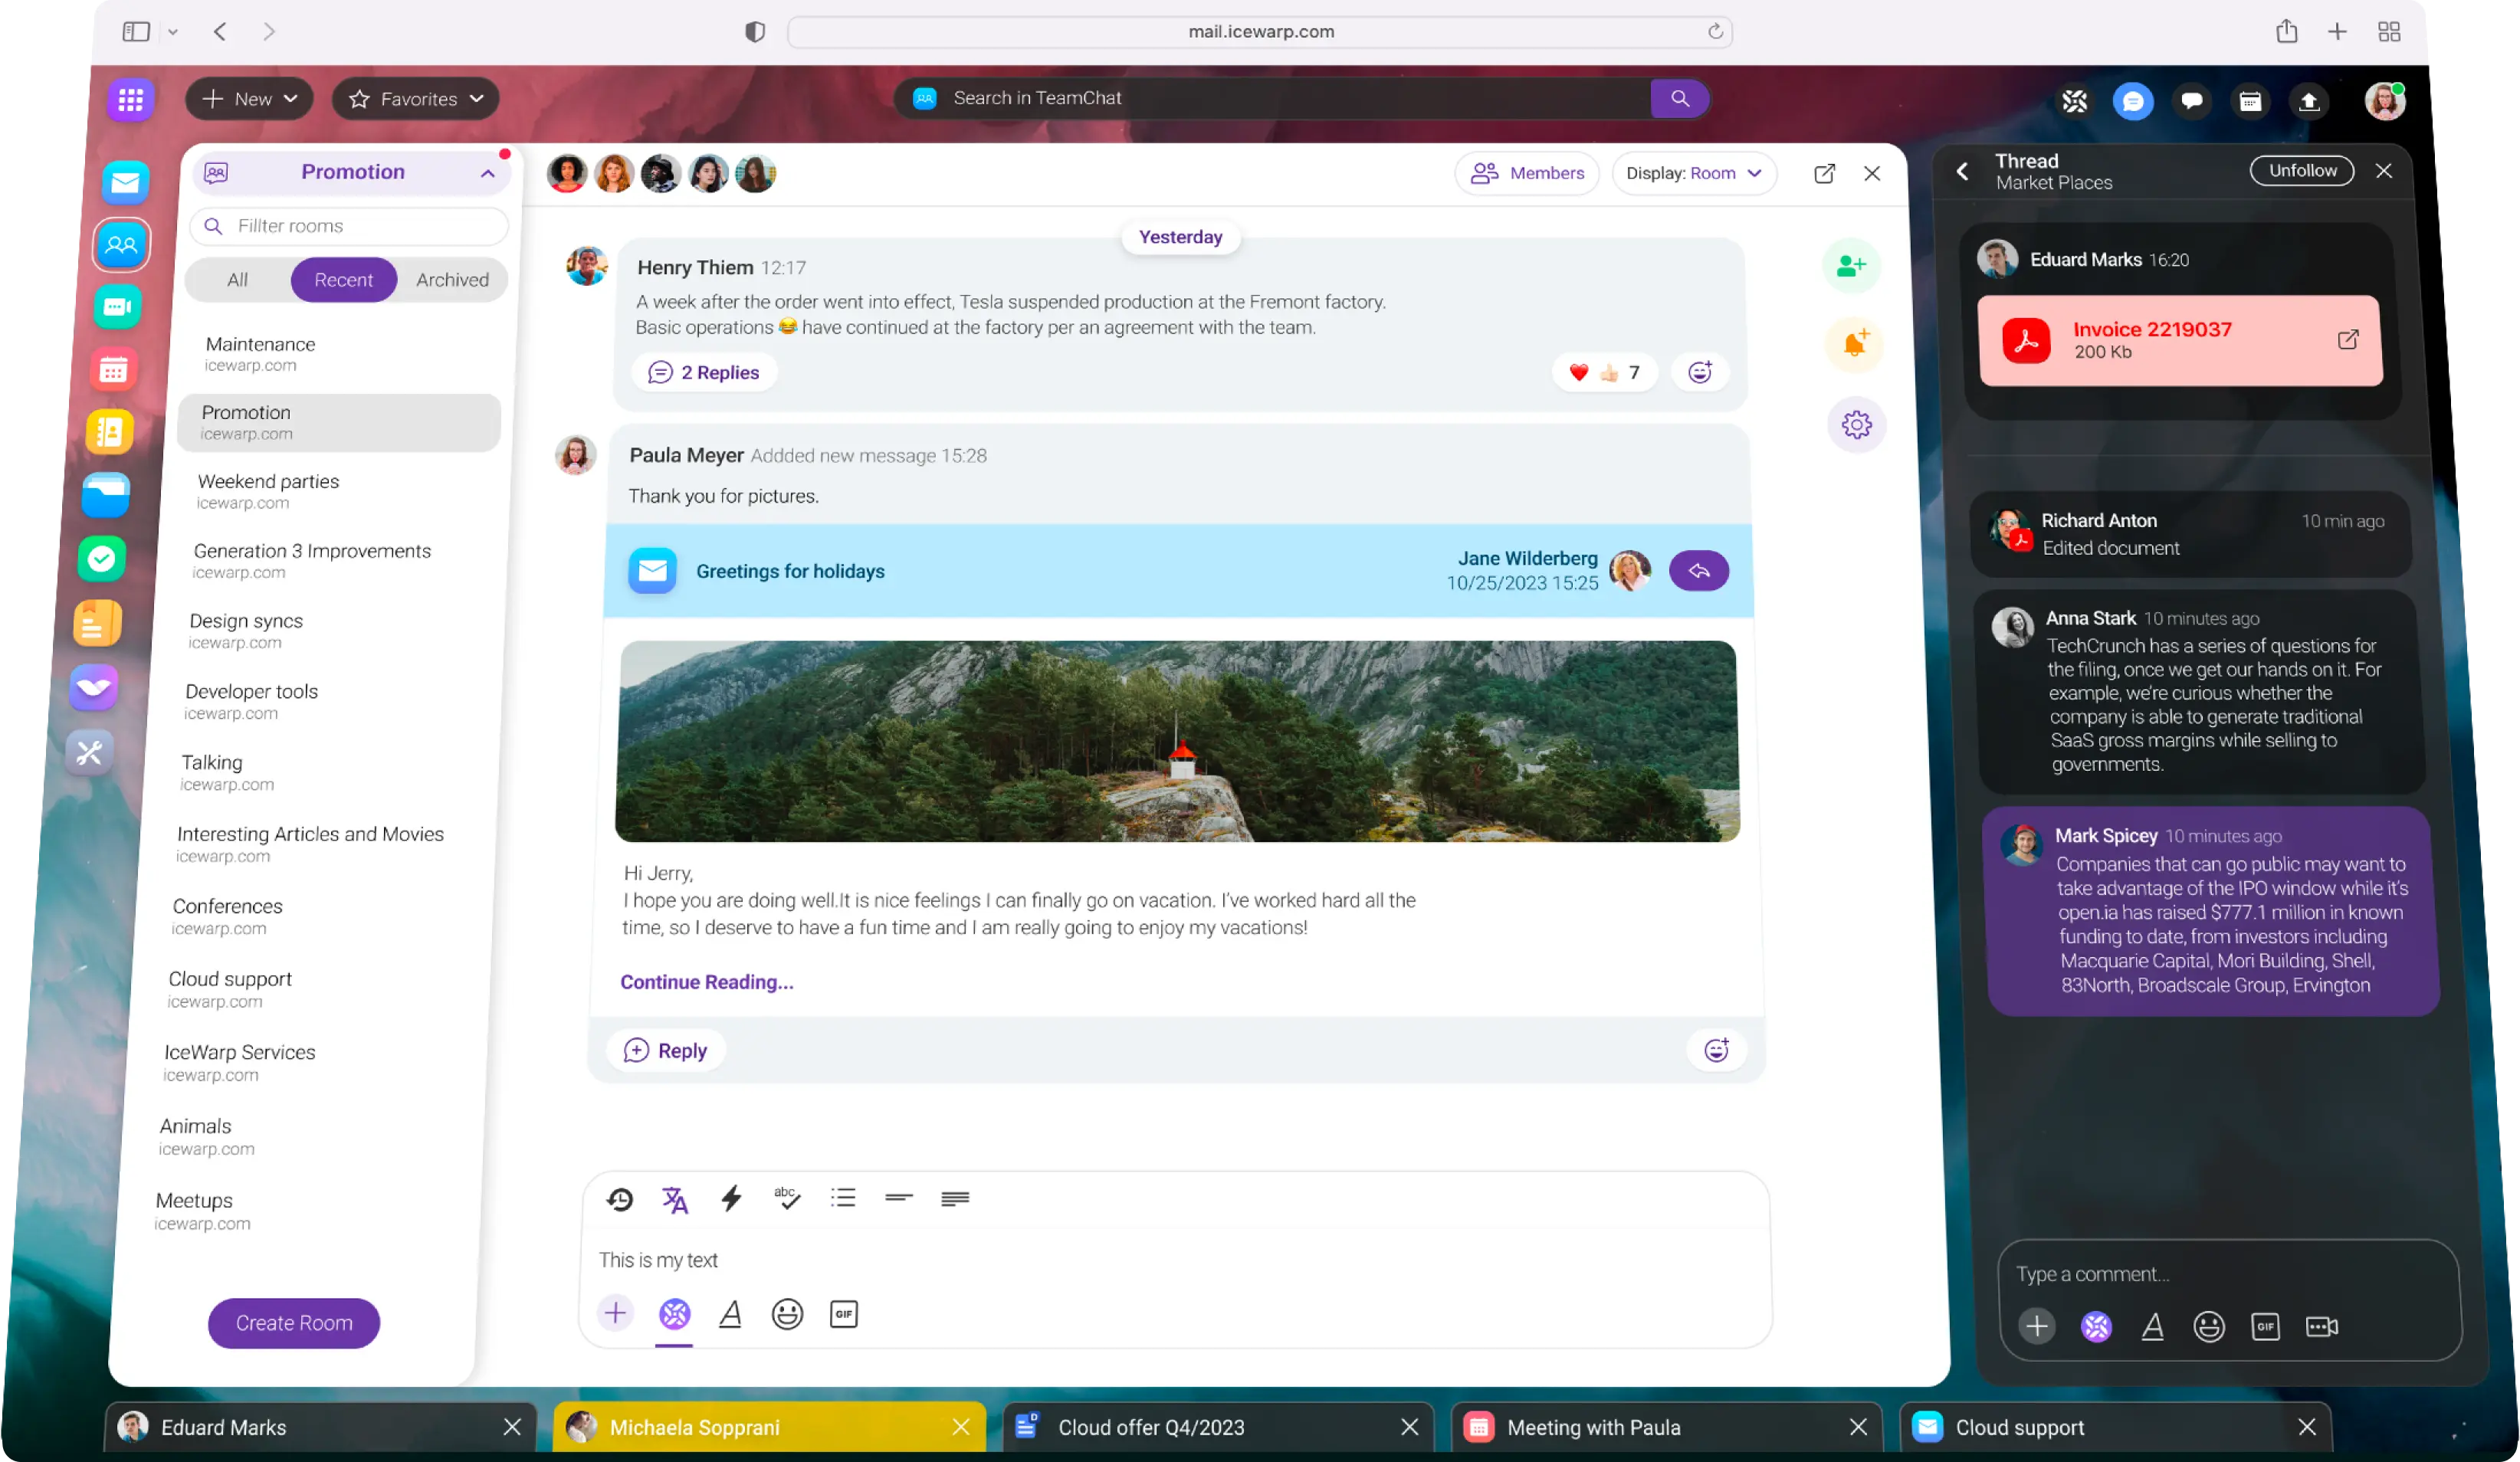
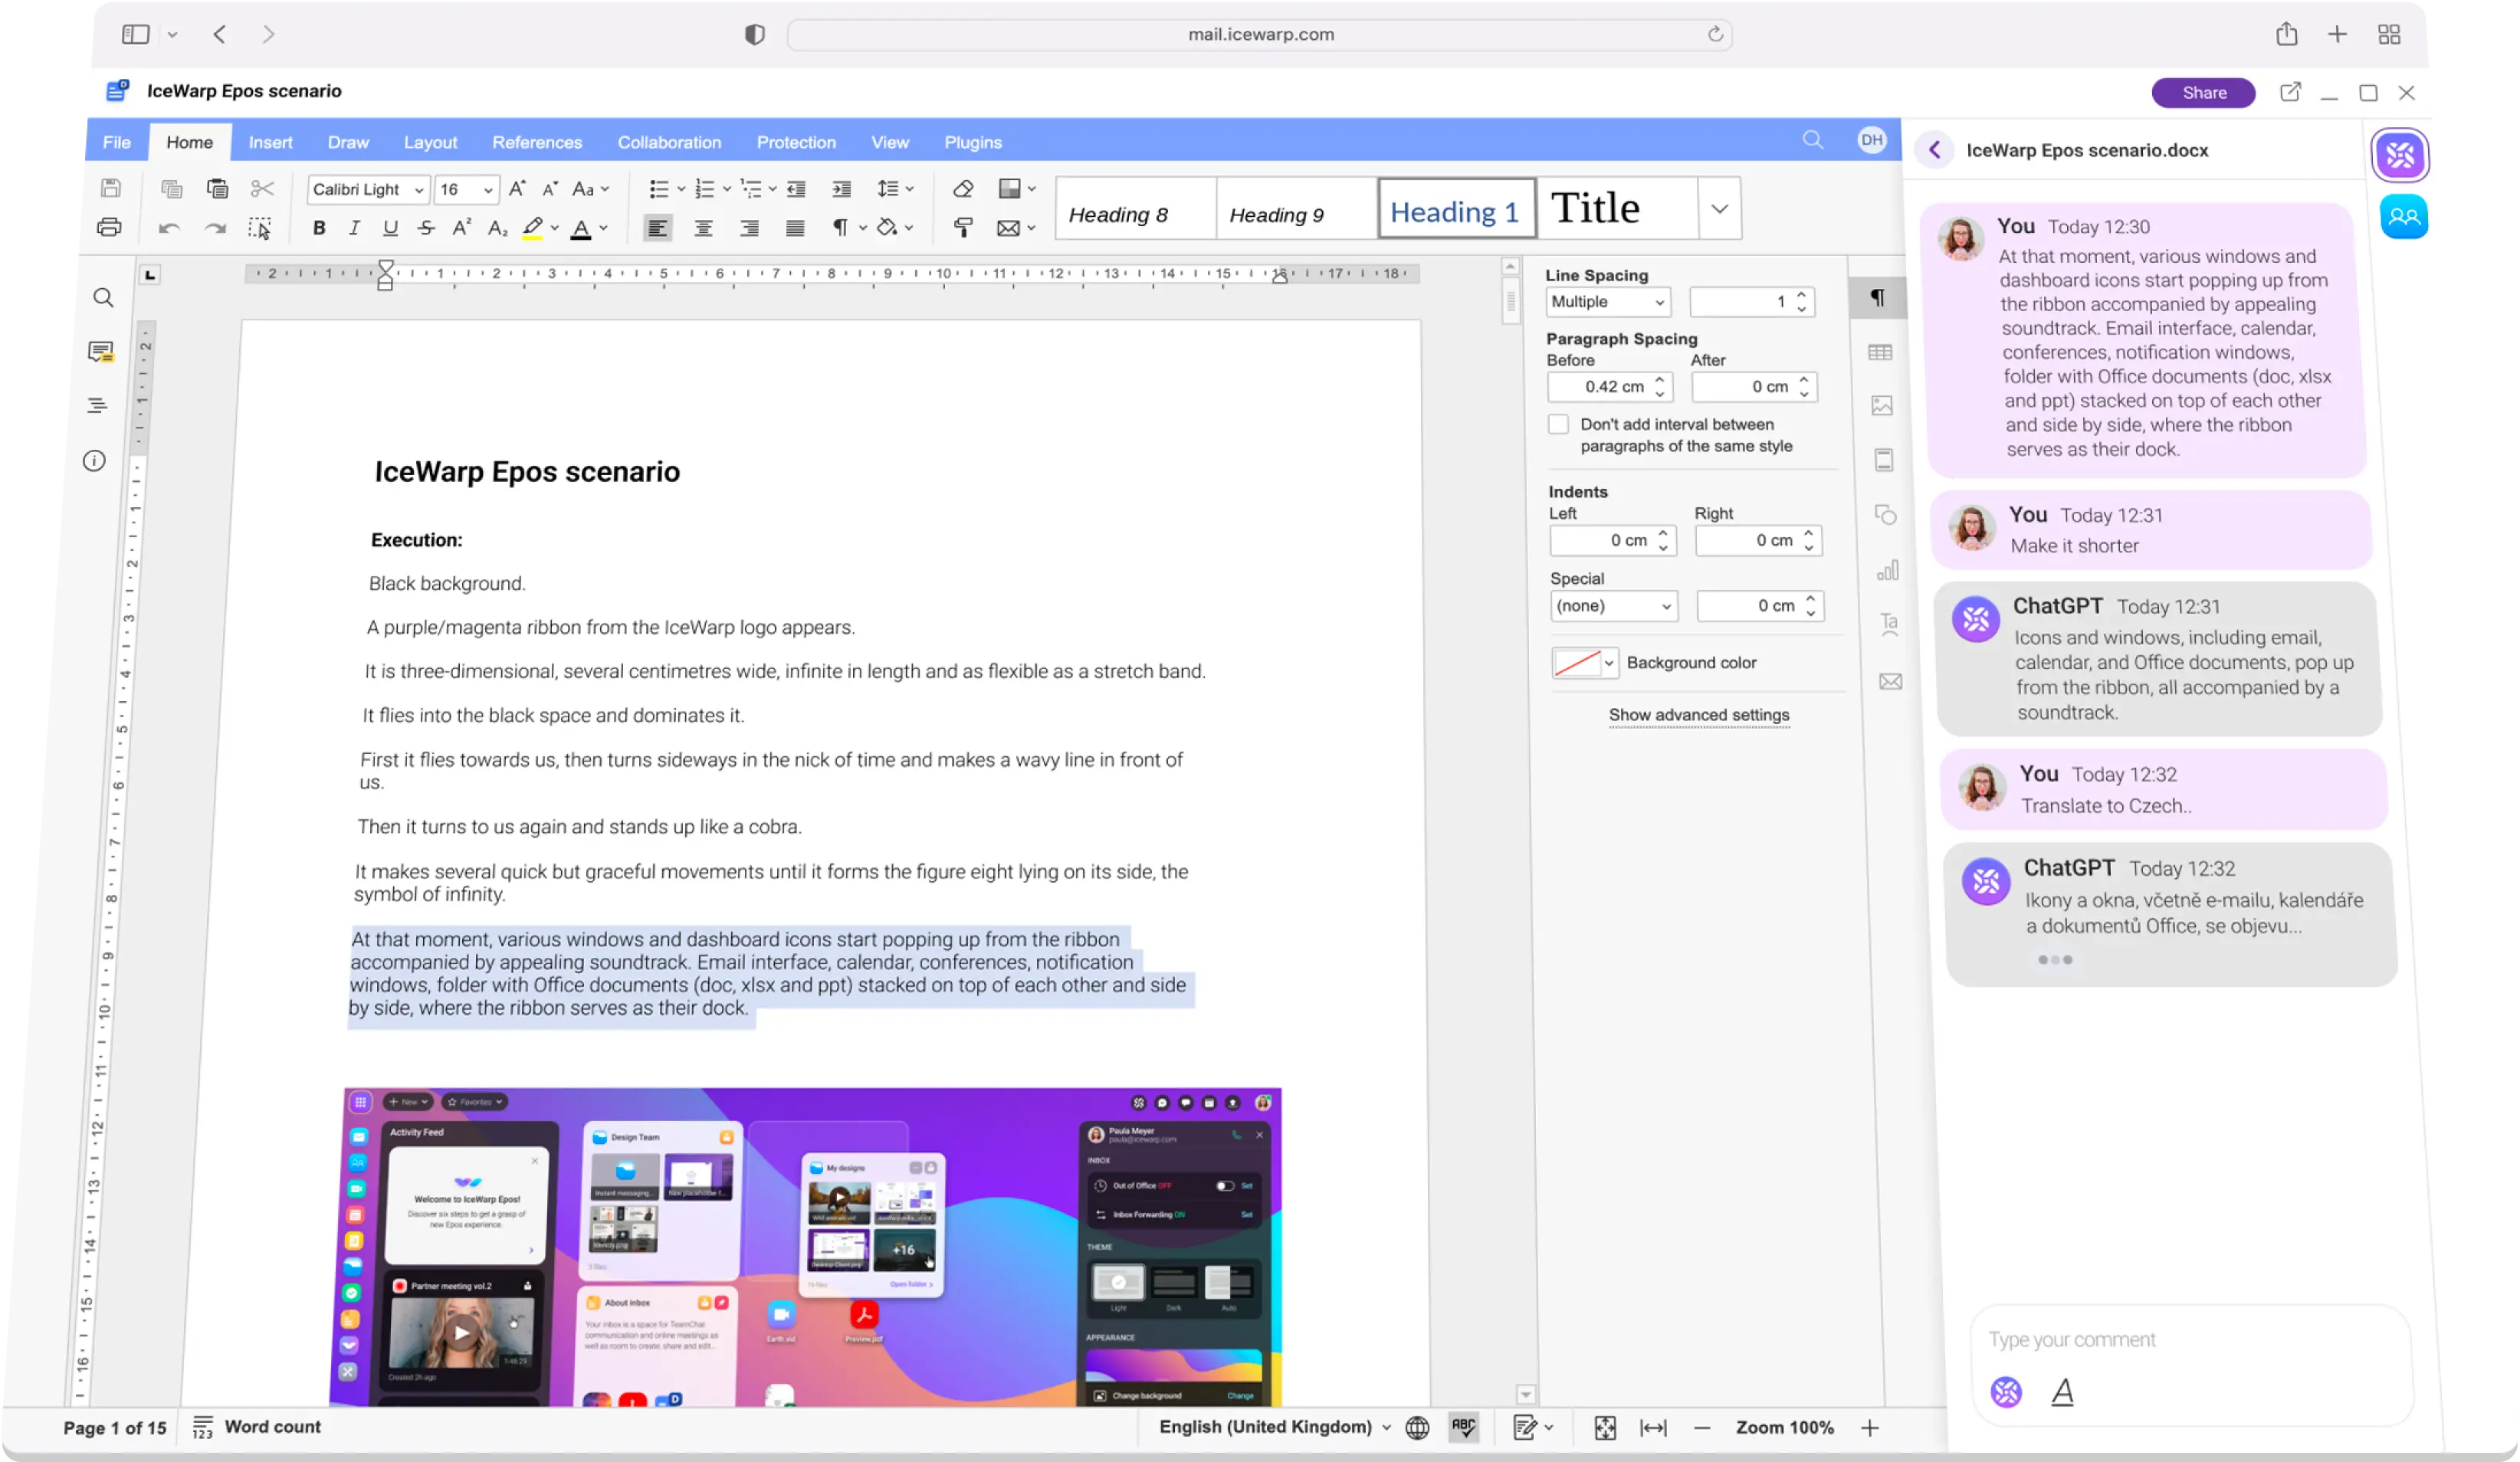

ChatGPT entegrasyonu ile ofis gündeminizi dönüştürün. Otomatik yanıtlarla e-posta oluşturun, uzun sohbet konuşmalarını özetleyin veya belgelerinizin stilini geliştirin.
Yeni sürümlerde fark yaratan tüm ayrıntıları öğrenin.
Belirli iş segmentlerine göre uyarlanmış teklifler.
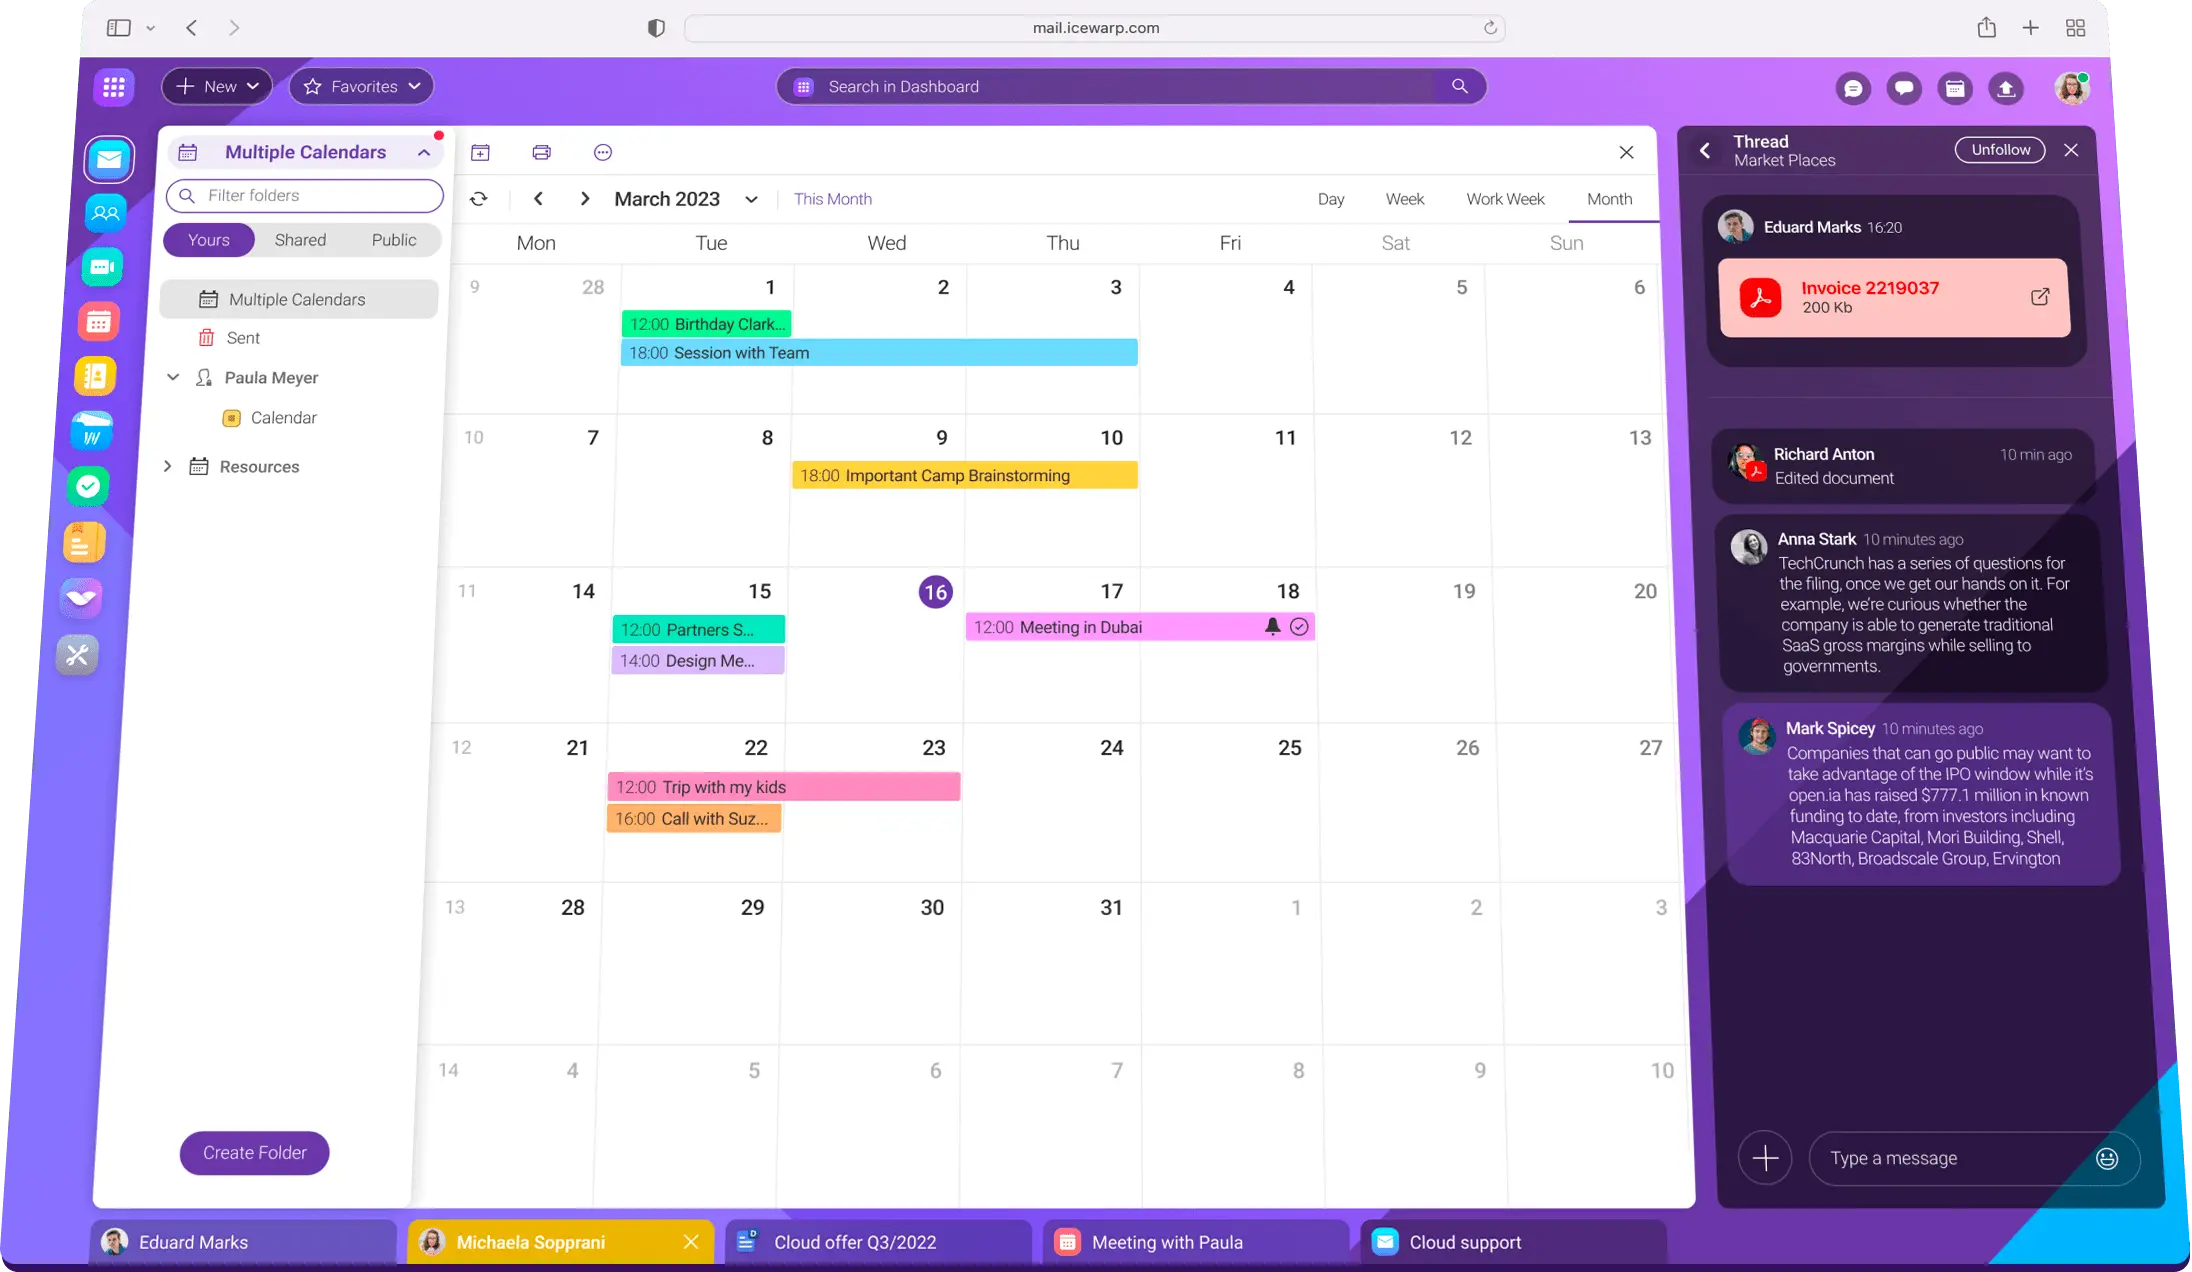
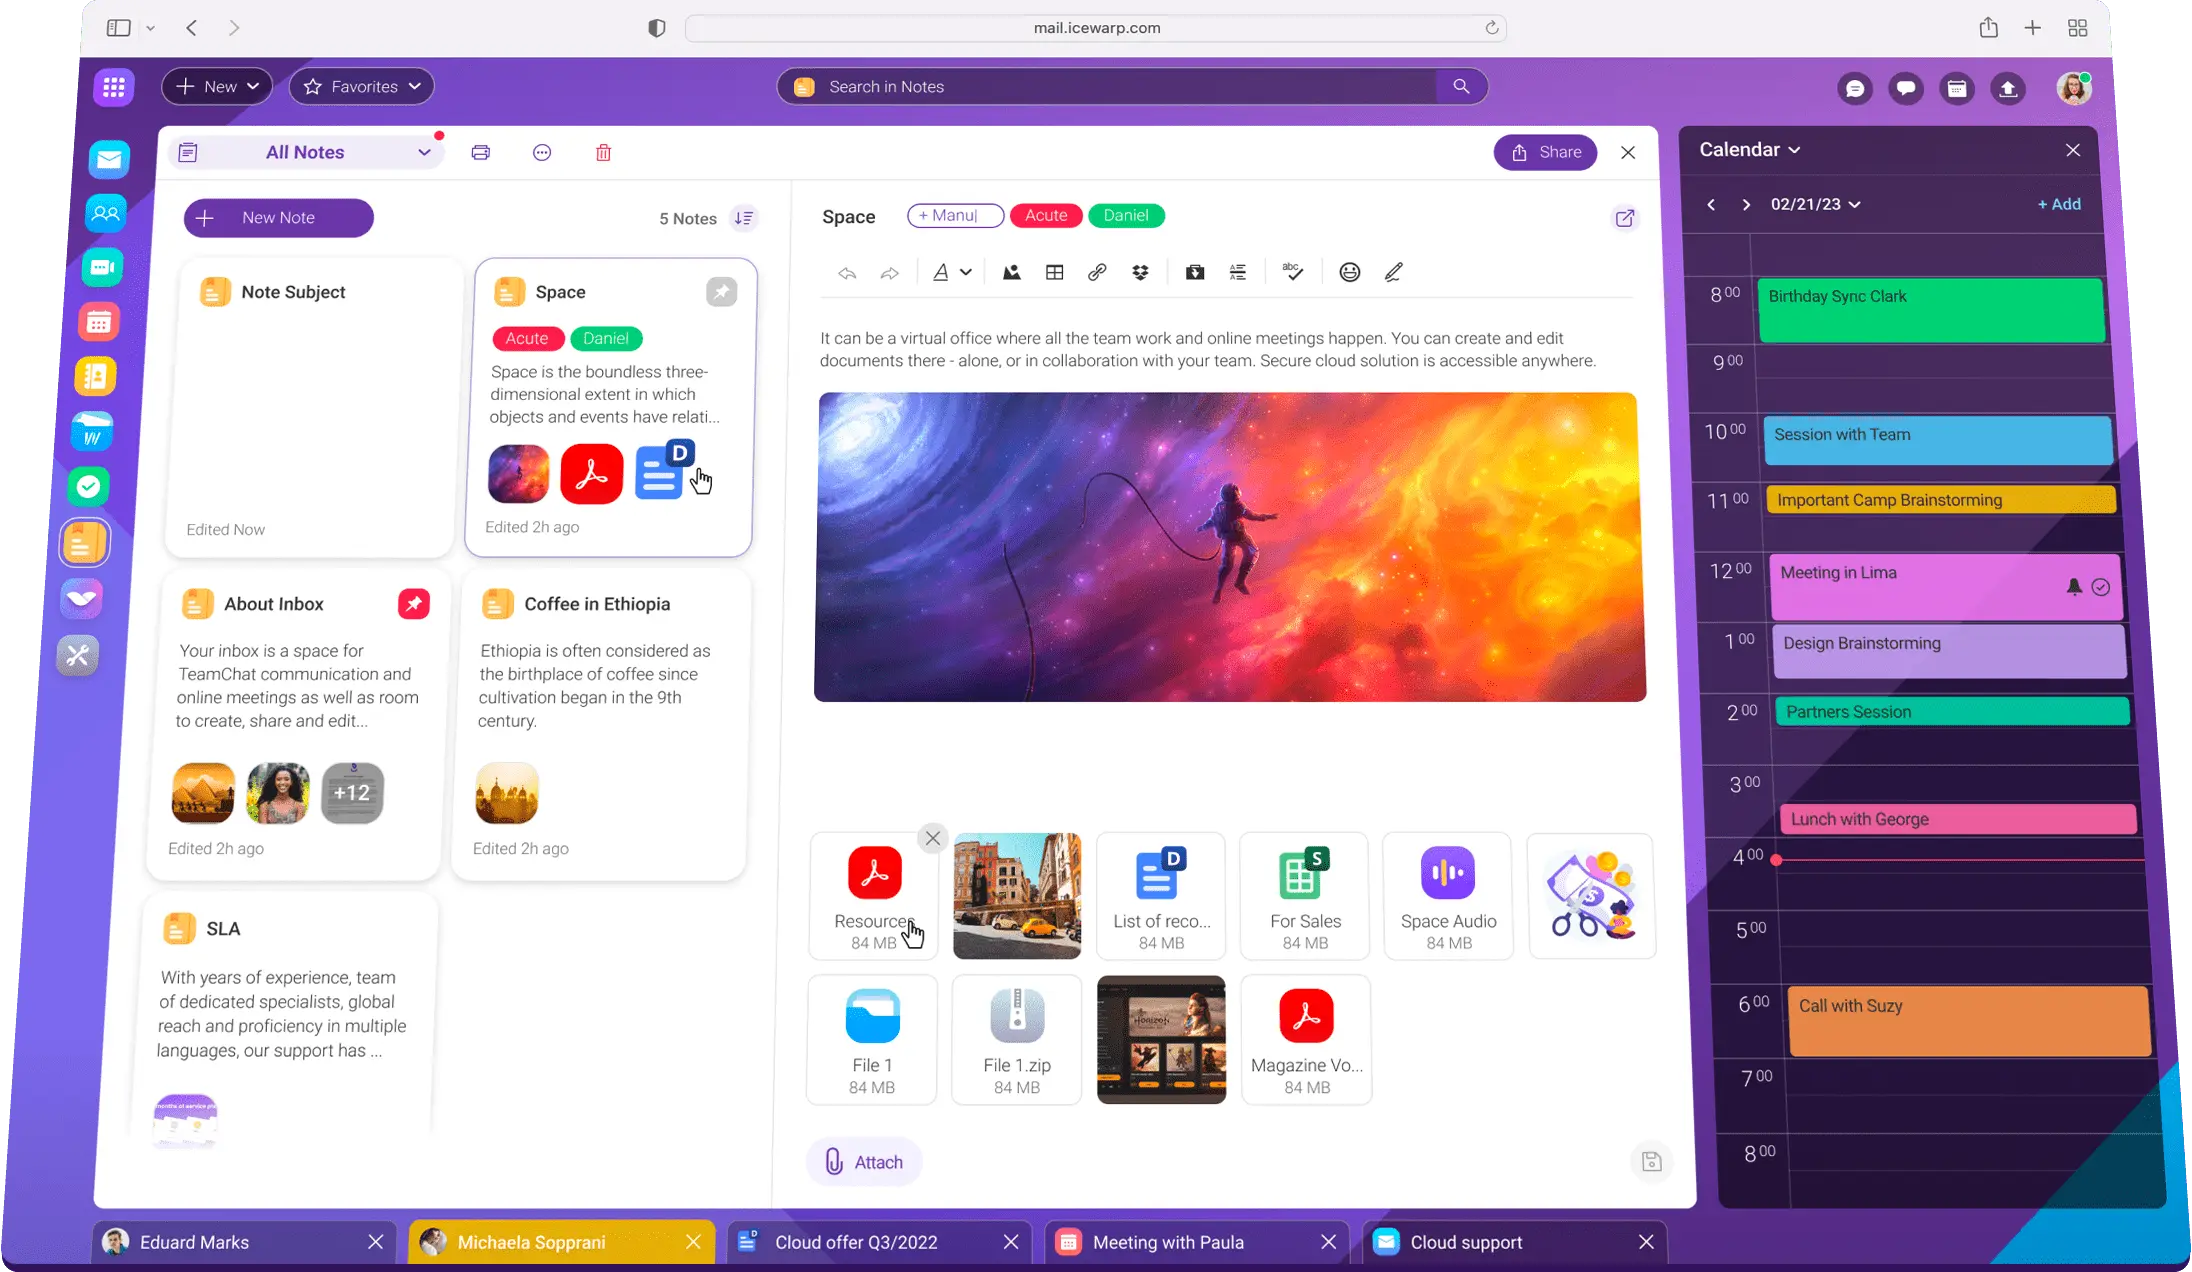
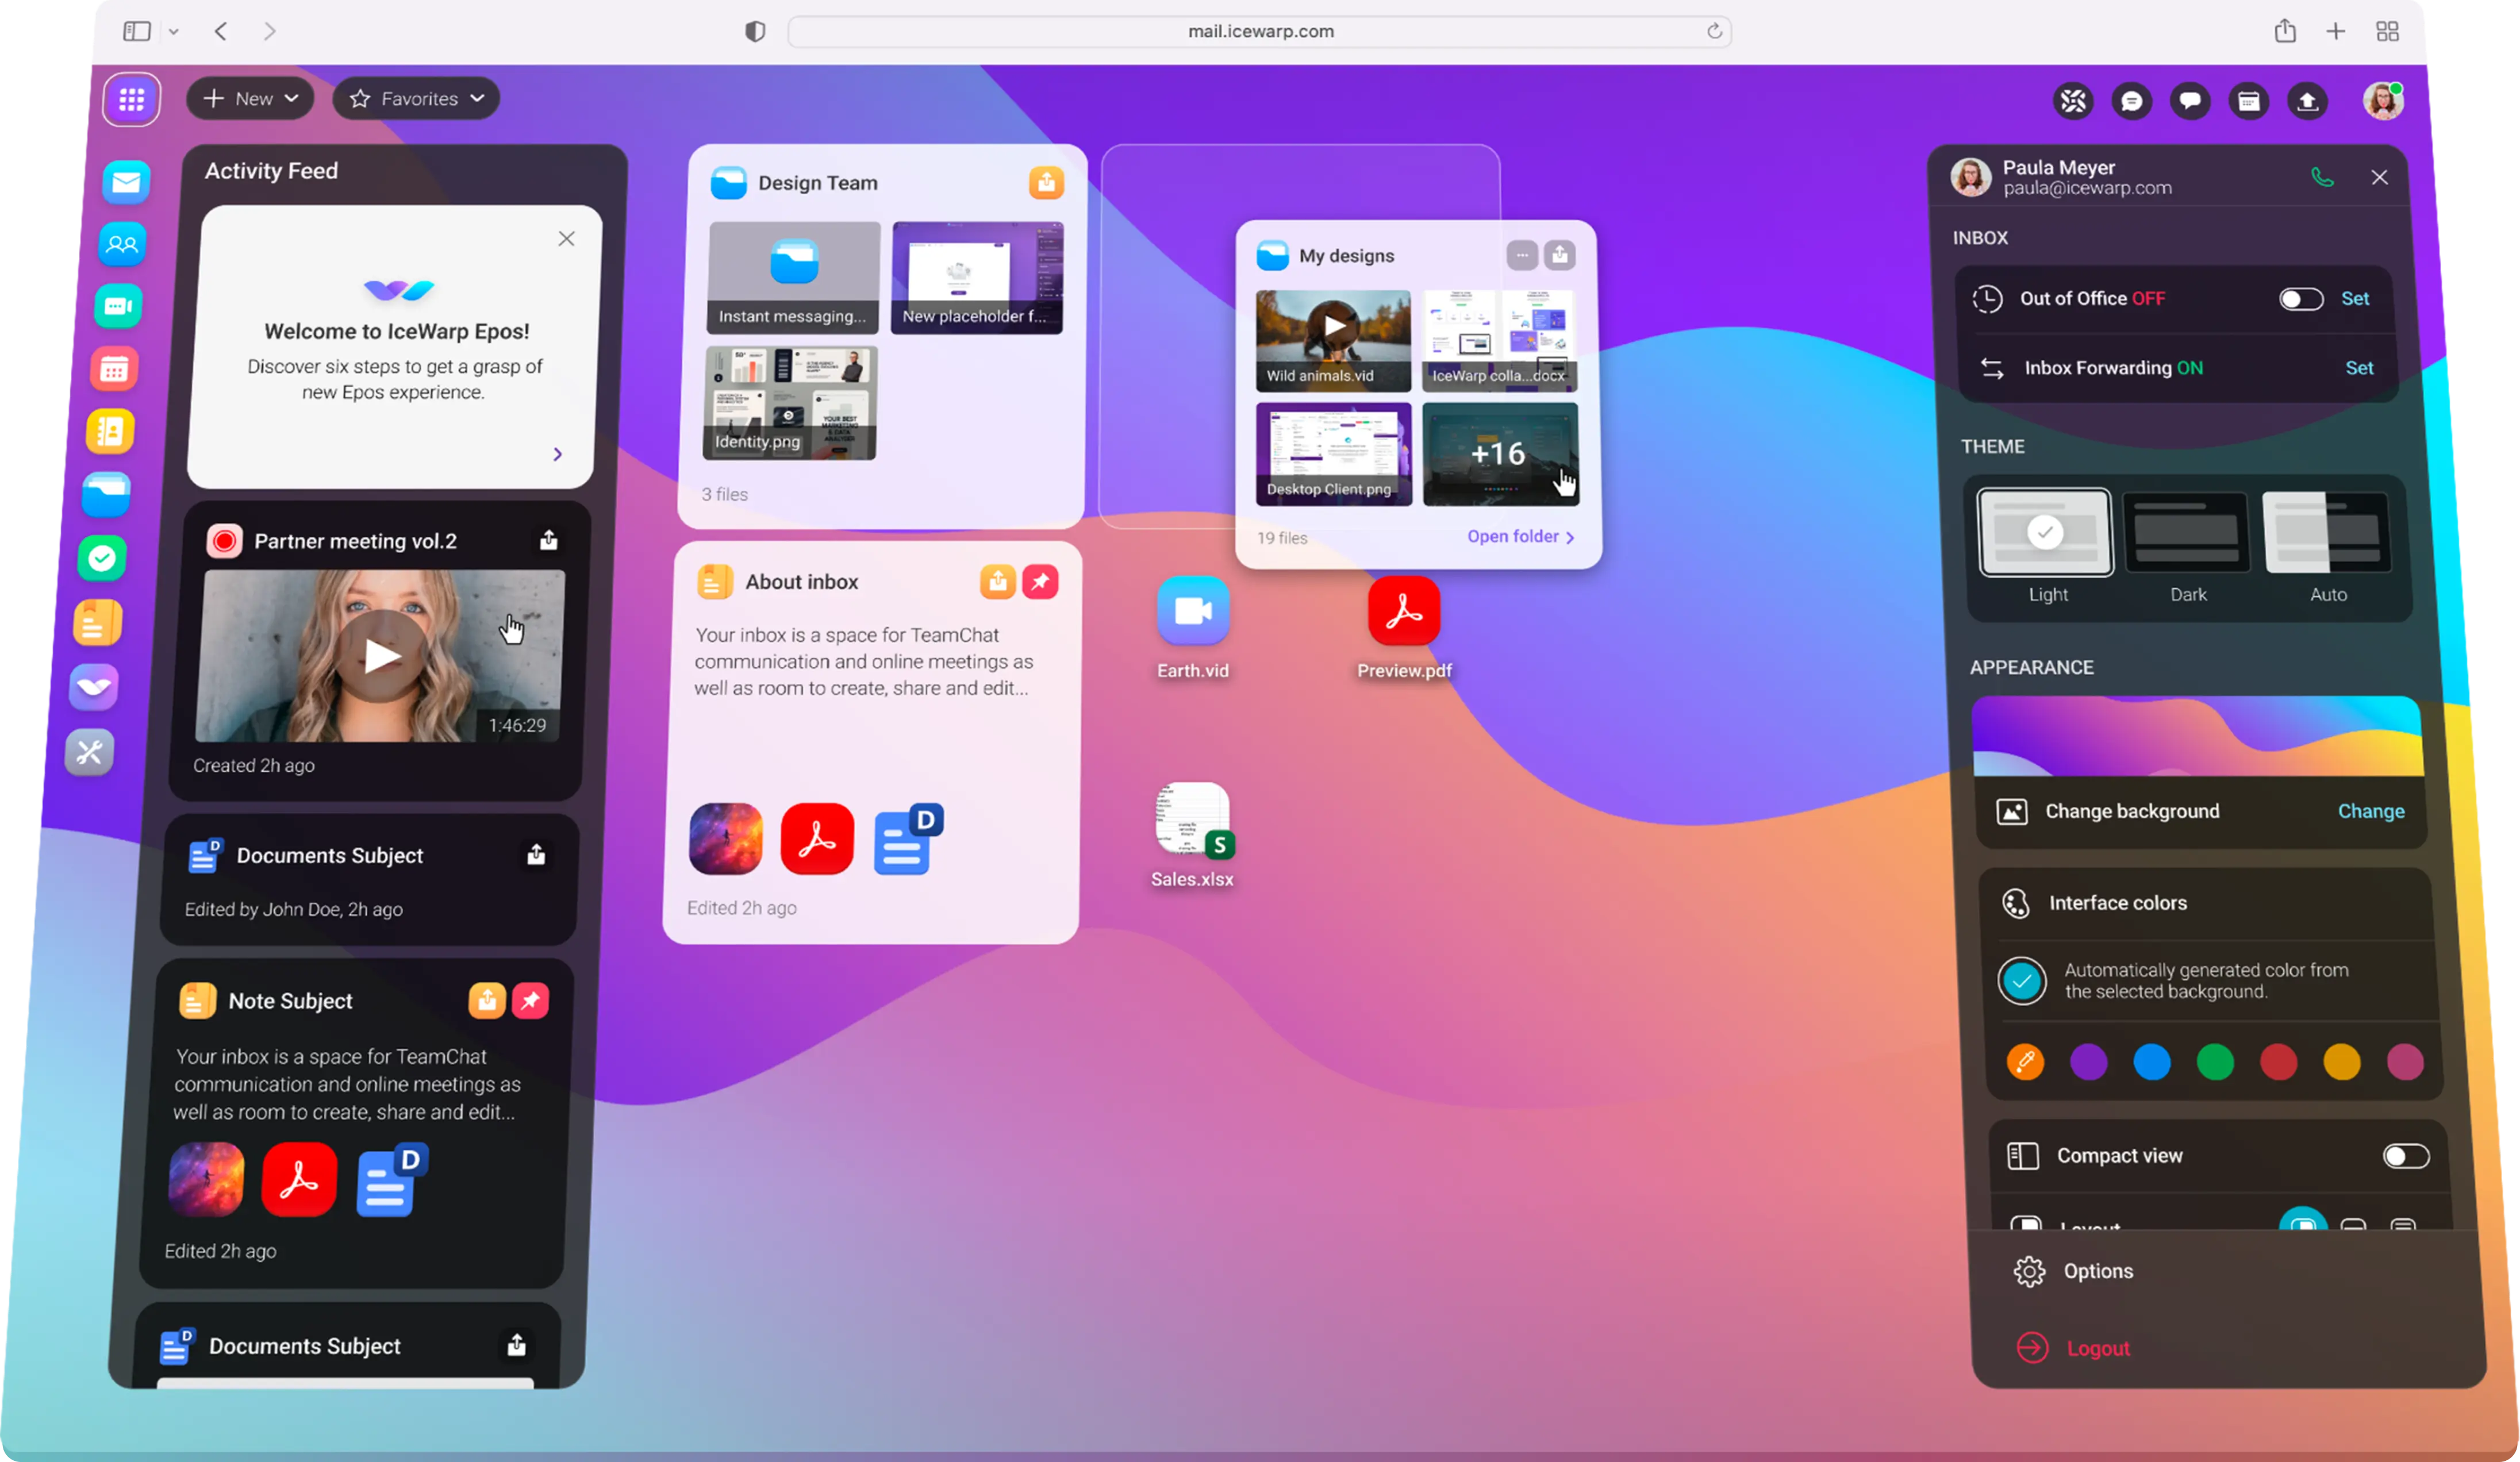
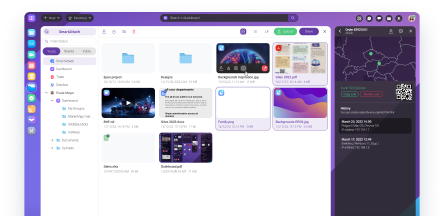
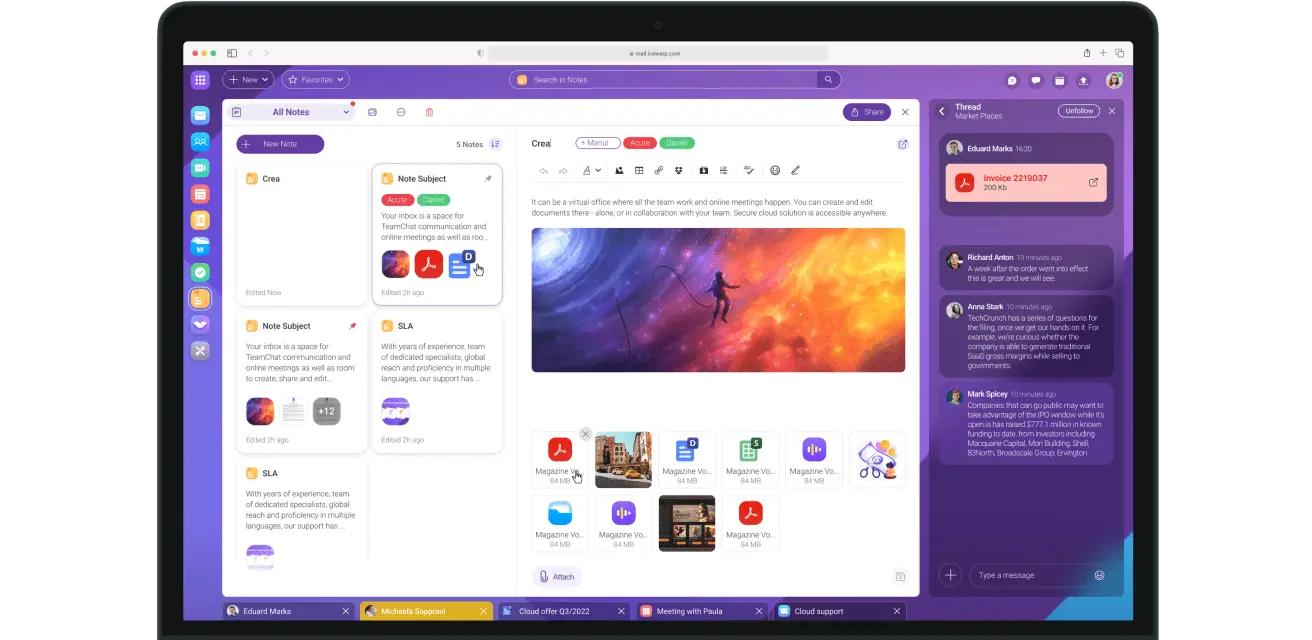
EPOS ile yepyeni Notlarımız var!
IceWarp özelliklerini başlıca rakiplerimizle karşılaştırın.

Çalışmak için daha iyi bir yer mi arıyorsunuz? Tam da sizin için arıyor olabiliriz!


 Highland Rivers Davranışsal Sağlık

 Carabinieros de Chile